When we launched our video membership site, our goal was straightforward – to help people learn WordPress with easy-to-follow video tutorials for beginners. However, we quickly encountered the same challenge you might be facing now: building an effective online learning platform.
Whether you’re a teacher aiming to expand your reach or an expert looking to share your knowledge online, creating an eLearning website is more achievable than you may think.
We’ve seen a wide range of individuals, from cooking instructors to tech trainers, successfully create their own teaching platforms using WordPress.
The best part? You don’t need to be tech-savvy or have a large budget. We’ve discovered practical methods to set up your eLearning site using WordPress and a few well-chosen tools.
In this guide, we’ll walk you through the exact steps we used (and still use) to create successful eLearning websites. We’ll guide you step by step—no complicated jargon, just straightforward, actionable advice to get your courses online.
Why Build an eLearning Website?
Creating an eLearning website opens up numerous opportunities to share knowledge, reach a larger audience, and even generate income online. Whether you’re a teacher, business owner, or content creator, an online learning platform enables you to connect with learners worldwide.
Additionally, it’s a cost-effective solution for providing valuable resources. Instead of renting classrooms or printing materials, you can offer online courses accessible 24/7.
You’ll also have complete control over your website’s design, branding, and content, allowing you to create a platform that aligns with your vision.
How to Build an eLearning Website with WordPress
You may be tempted to host your courses on third-party platforms like Teachable or Skillshare, but we highly recommend using WordPress instead.
WordPress is a widely used website builder that makes it simple to create your own eLearning platform. It provides full control over your content and earnings.
With its flexible learning management system (LMS) plugins and education themes, WordPress lets you set up a professional-looking site that caters to both educators and students.
And you don’t need to be a tech expert to use WordPress. It provides all the tools you need to build a website without any coding knowledge.
It’s important to note that when we refer to WordPress, we’re talking about WordPress.org. This open-source platform gives you complete control over your website, so you can customize it and extend its features as needed.
If you’re unsure of the difference, check out our in-depth comparison of WordPress.com vs. WordPress.org for more details.
Before we dive into the process, let’s first review the essentials you’ll need to get started with WordPress.
Getting Started with Your eLearning Website
To launch a WordPress website, you’ll need two things: a domain name and web hosting.
Domain Name: This is your website’s unique address, such as learnsphere.com or growacademy.com. It’s how customers will find your site on the internet.
Web Hosting: This is the online space where your website resides. For an eLearning platform, you’ll want to ensure your hosting provider offers the necessary tools for your platform, including webinar hosting, secure logins, and scalability to handle growing numbers of students.
To make your search easier, we’ve compiled a list of the best WordPress hosting options available.
While WordPress itself is free, the domain name and hosting do come with costs. Typically, a domain name costs around $14.99 annually, and hosting starts at $7.99 per month. This is a significant investment, but it’s worth it for the potential benefits.
In the next sections, we’ll guide you through the process of building a fully functional eLearning website using WordPress. Here’s an overview of the steps we’ll cover:

Table of Contents
Now, let’s get started!
Step 1. Install WordPress
The first step is to install WordPress so that you can create an eLearning website. Most of the process should be automatic, though it depends on your web host.
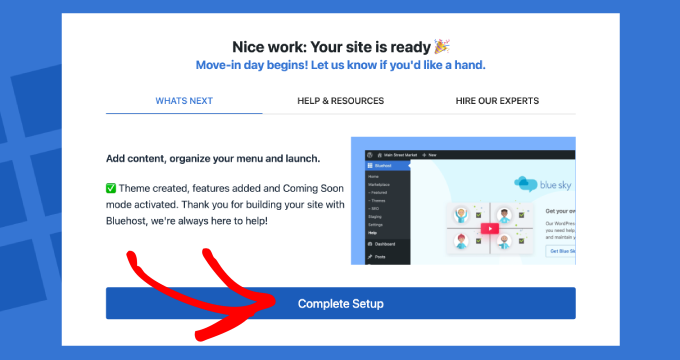
For example, after you sign up for a web hosting plan with Bluehost, you’ll be taken to the control panel, where WordPress is automatically installed on your domain name.

Step 2: Choose a Great eLearning Website Theme
Website themes, also known as layouts or templates, determine the overall design and user experience of your site. For your eLearning website, it’s crucial to pick a WordPress theme that not only looks appealing but also supports essential features like courses, lessons, and student interaction.
Here’s how to find the ideal theme for your platform:
Explore the WordPress Theme Directory
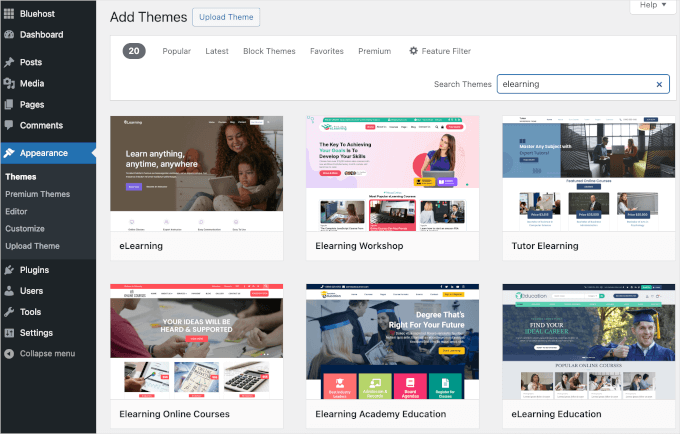
If you’re on a budget, the WordPress theme directory is a great place to begin your search. It offers a wide selection of free themes that are easy to install directly through your WordPress dashboard.
To get started, go to Appearance » Themes and click on Add New. From here, you can use the Search Themes feature to find themes that offer a professional design and include features specifically designed for educational websites.

Explore Premium Theme Marketplaces
For more advanced features and unique designs, premium theme marketplaces like ThemeIsle or Themify offer a variety of options.
These premium themes often come with additional benefits such as enhanced customization, dedicated support, and pre-built layouts tailored for eLearning websites, making it easier to create a professional and functional learning platform.
Use SeedProd for Complete Customization
If you prefer total design flexibility, we highly recommend using SeedProd.
SeedProd is a drag-and-drop website builder that allows you to create your site from scratch or choose from pre-designed templates. You can customize every aspect of your site, from fonts to layouts, all without needing to write any code. It’s perfect for those who want a completely personalized design.

Many of our partner brands have used SeedProd to build entire websites that sell their software, and they’ve had outstanding experiences with it. Our readers often ask us about SeedProd, so we regularly test it ourselves to keep up-to-date. For more detailed insights, check out our SeedProd review.
What makes SeedProd even more appealing is its seamless integration with WordPress, making it super easy to add essential features like course registration or payment forms.
However, the standout feature for us is SeedProd’s AI Theme Builder, which can generate an entire website in under 60 seconds. It’s an incredible time-saver for anyone looking to quickly get started with a professional design.
For step-by-step instructions, check out our guide on how to create a custom WordPress theme.
Each option offers its own advantages. Free themes are great for getting started quickly, premium themes provide polished designs, and SeedProd gives you the ability to create something completely unique.
Once you’ve selected your eLearning theme, follow our guide on how to install a WordPress theme. Keep in mind, you can always change your theme later, so you’re not locked into the initial design.
Step 3: Build Your eLearning Home Page
After installing your chosen theme, it’s time to create a home page for your eLearning site.
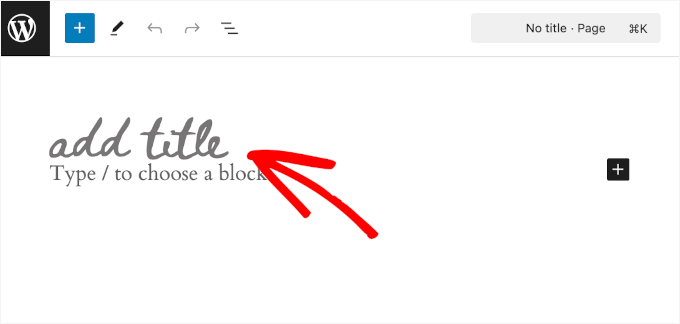
You can easily do this with the WordPress block editor. Begin by adding a page title and tagline to introduce your website. Simply click on the relevant blocks and type in your text to get started.

Next, you may want to add a hero image.
A hero image is the large, attention-grabbing image at the top of your homepage. It’s one of the first things visitors see when they land on your site, making it an ideal place to showcase what your eLearning platform is all about.
For an online course site, the hero image could feature students learning, collaborating, or engaging with content. This helps to visually communicate the purpose of your platform.
Then, it’s time to add some key text elements to your homepage. Here are a few essential eLearning homepage features you might want to include:
Course Highlights: Display your top or most popular courses with engaging images, brief descriptions, and clear buttons to enroll.
About Section: Offer a brief introduction to yourself or your eLearning platform. This helps visitors understand who you are and why they should trust your expertise.
Testimonials: Including student reviews or feedback is a powerful way to build trust and credibility with potential learners. For more details, check out our guide on how to add rotating testimonials.
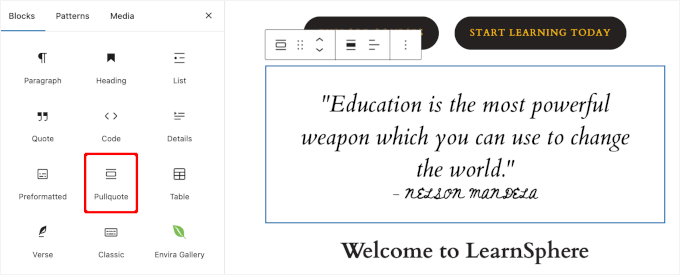
Inspirational Quote: Adding a motivational quote from an influential figure can help connect with your visitors emotionally, inspiring them to engage with your content.
These elements will help create a homepage that’s both visually appealing and informative, guiding your visitors to take action and start exploring your courses.

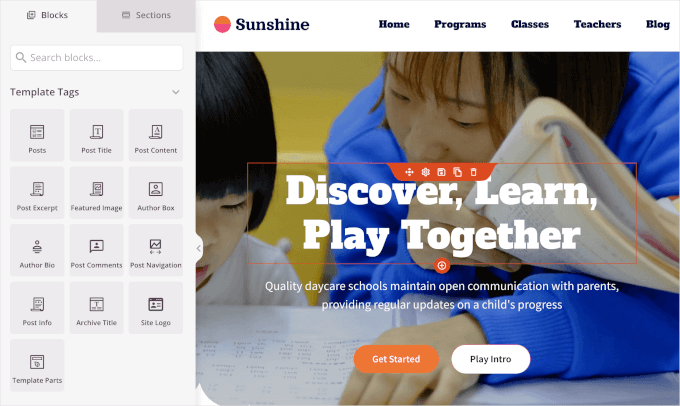
When you’re satisfied with the layout, you can just click the ‘Publish’ button in the block editor.
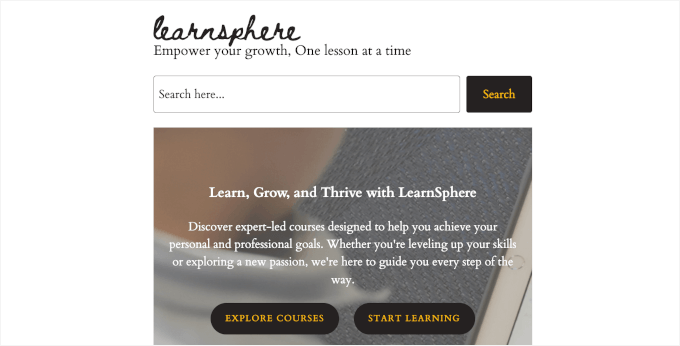
Here’s what our custom home page looks like:

Step 4. Install and Set Up MemberPress LMS
Soon, you’ll be ready to start creating your educational content. But first, you’ll need to set up a Learning Management System (LMS). That way, you can offer exclusive lessons or courses behind a membership paywall, turning your knowledge into a source of income.
A membership site also helps build a community where users can interact, ask questions, and share ideas. This can boost everyone’s learning experience.
Out of all the LMS plugins we’ve tested, MemberPress stands out for its Classroom Mode. The plugin also offers helpful add-ons like course assignments, grade books, and quizzes. Plus, you can track student progress directly from your WordPress dashboard.

We know all of this may sound impressive, but you might be wondering if it’s complicated to set up. The good news is, it’s easier than you think. We’ve worked on many projects like this, including building a free membership website to offer our own WordPress courses.
MemberPress is designed to provide a smooth and simple learning experience. If you’re curious to know more, feel free to check out our detailed MemberPress review.
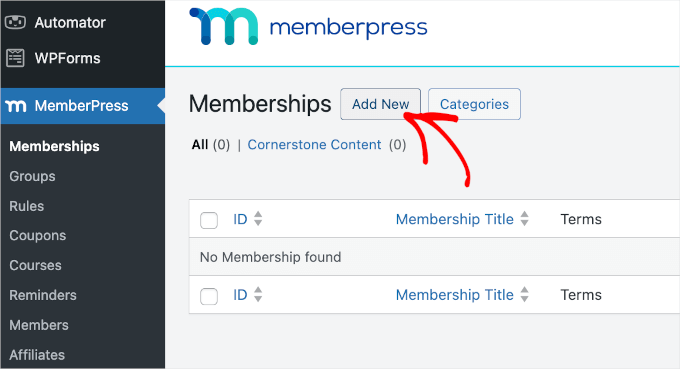
To get started, you’ll need to install and activate the MemberPress plugin. If you’re not sure how to do this, you can follow our guide on how to install a WordPress plugin.
Once activated, you’ll see the MemberPress menu in your WordPress dashboard. Click on it, and you’ll be walked through a series of setup steps.
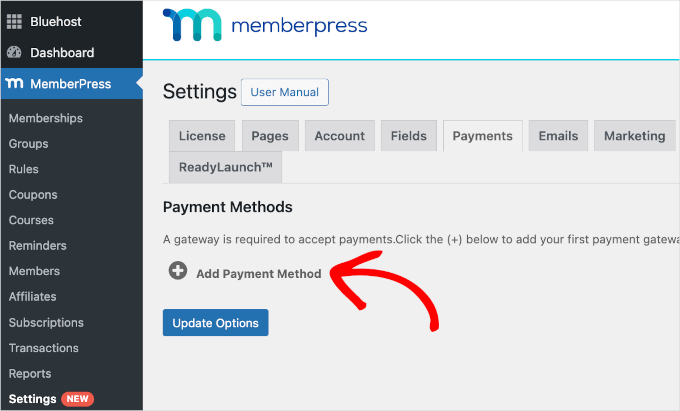
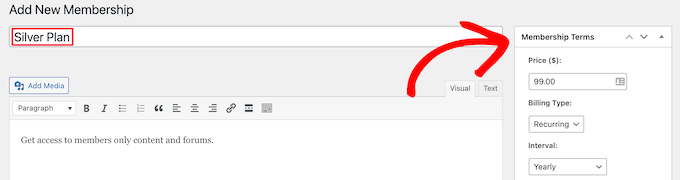
Next, you’ll need to configure your payment methods. To do this, navigate to MemberPress » Settings, then go to the Payments tab.
Click on the + Add Payment Method button to begin setting up your payment gateways, so you can start collecting payments for your courses.

Once you’ve entered all your payment details, you’ll be ready to start creating your first online courses.
Before we move on, it’s important to note that while MemberPress is an excellent option for building eLearning websites, there are other plugins that could serve as alternatives:
Thrive Apprentice is a great choice for course creators who need detailed reporting and personalized content. For more info, check out our Thrive Themes Suite review.
WishList Member enhances course engagement with gamification features. You can learn more about our experience with it in our WishList Member review.
AccessAlly is a powerful tool for creating online courses and members-only content, including group learning and online learning communities.
Courses for MemberMouse is an all-in-one solution for membership and course creation. For more details, see our MemberMouse review.
Step 5: Build Your First Online Learning Materials
Now that your payment system is set up, it’s time to start creating your online learning materials. With MemberPress, you’ll have everything you need to make your courses engaging and effective.
You can easily create lessons, add quizzes, and even award certificates to your students. All the features you need are already built into the plugin, so you can focus on teaching rather than dealing with complicated setups.
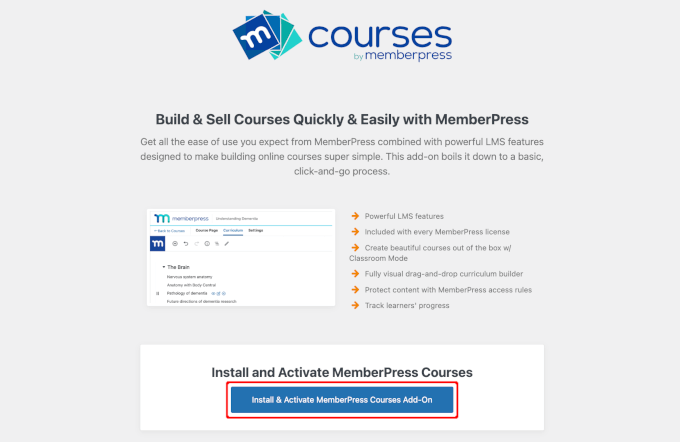
To begin, activate the MemberPress Courses add-on. Simply go to MemberPress » Courses and click the button to install and activate the add-on. Once activated, you’ll be able to start building your courses and adding content right away.

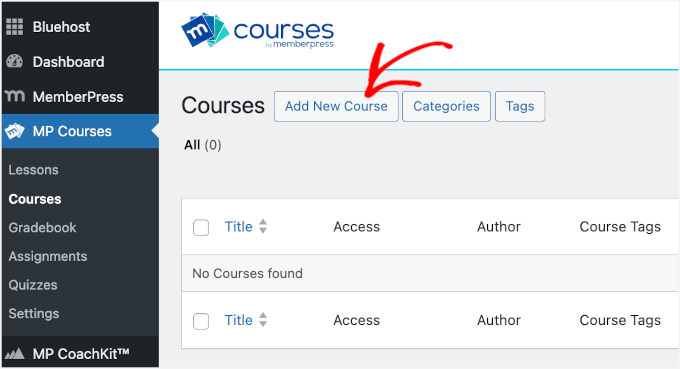
Upon activation, you’ll see a new menu item called ‘MP Courses’ in your WordPress dashboard.
You can go ahead and click the ‘Add New Course’ button.

This will open the MemberPress course builder.
You might notice that the MemberPress course builder uses the default WordPress block editor. With its drag-and-drop interface, you can easily add and customize blocks to create engaging course layouts without needing any coding skills.
From here, you can explore the builder to craft your first course. For detailed instructions, please see our guide on how to create and sell online courses in WordPress.
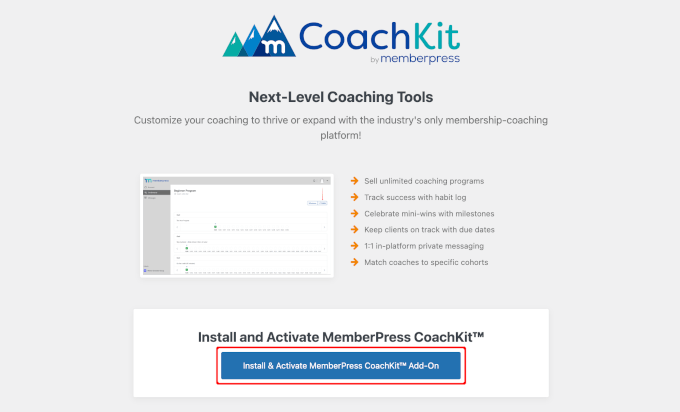
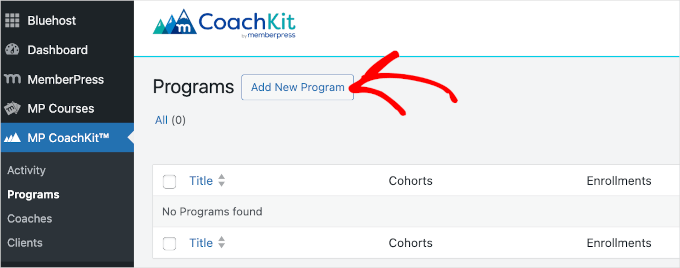
If you’re offering online coaching, then you might want to use the CoachKit™ addon instead.
CoachKit lets you create as many coaching programs as you want. It also allows you to set milestones to keep clients motivated and sync your website with Calendly to schedule in-person coaching sessions.
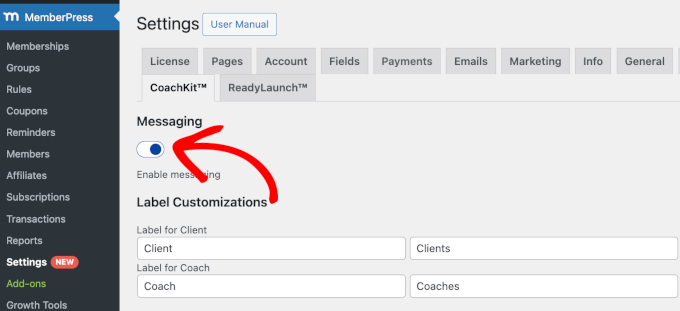
To start, you can install and activate it by navigating to MemberPress » CoachKit™.

This will create an ‘MP CoachKit™’ menu in your WordPress dashboard. But before creating any program, you’ll need to configure some settings.
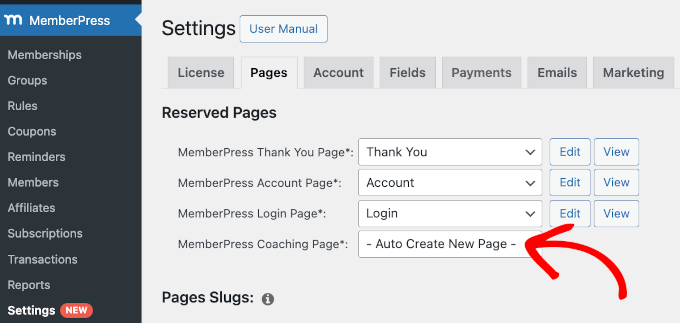
By default, MemberPress will create a ‘Coaching’ page for you to manage your clients and track their progress. You can check it out by heading over to MemberPress » Settings and switch to the ‘Pages’ tab.
In the ‘MemberPress Coaching Page*’ field, you’ll see ‘Auto Create New Page’ selected from the dropdown menu.

The next step is to move to the ‘CoachKit™’ tab.
We recommend enabling the live chat ‘Messaging’ feature on your eLearning site so that you can talk directly with your clients.

With that done, you can start creating your first online coaching program.
Let’s navigate to ‘MP CoachKit™’ and click the ‘Add New Program’ button.

Step 6. Restrict Access to eLearning Materials
Once you’ve set up your courses, it’s time to create rules that control who can access your educational content. This is where MemberPress really shines.
The plugin lets you set up different user membership levels and then restrict access to certain lessons or materials based on these levels. You can also restrict access to specific categories, tags, or even individual lessons.
Creating Membership Levels
To get started, you’ll first need to create your membership levels. Simply go to the MemberPress » Memberships page and click the ‘Add New’ button.

This will open an editor where you can choose all the essential settings for your membership.
For example, you’ll be able to pick the name, add a description, and configure membership terms like price and billing intervals.

When you’re finished, you can hit the ‘Publish’ button to save your new membership plan. Then, you can repeat the process to create as many membership levels as you need.
Adding Membership Rules
After that, head over to MemberPress » Rules. Then, click the ‘Add New’ button.
On the next screen, you can choose the content you want to protect in the ‘Protected Content’ section. Then, you can configure the access condition.
For instance, we have set posts categorized as premium content to be available for elite subscribers only.

Don’t forget to click the ‘Save Rule’ button to store your settings.
Creating User Login Forms
Once your memberships and rules are set up, you’ll need to provide a way for students to log in and out of your portal.
To do this, you can simply use MemberPress’ pre-made shortcode, which generates a login form with all the essential elements.
You’ll need to create a new page with the block editor or open the existing one where you want to add your login form.

Then, scroll down to the ‘MemberPress Settings’ area at the bottom of the editor.
Here, you can check the box next to ‘Manually place the login form on the page.’ This will then reveal the login shortcode.

Now, all you have to do is copy the shortcode and paste it into the editor above.
Here’s an example of what a MemberPress login page will look like on a live site:

Step 7. Display an Online Contact Us Form
Having a ‘Contact Us’ form on your eLearning website is super important. It gives your visitors an easy way to reach out if they have questions, feedback, or need support. So, we recommend adding one as the next step.
The good news is that creating a contact form is simple and doesn’t require any coding skills. The best tool to use for this is WPForms. It’s easy to use, even for beginners, and offers lots of helpful features like spam protection and the ability to customize your form fields.
We have lots of firsthand experience with WPForms, and it’s become one of our favorite tools. We use it for our contact forms, website migration forms, and annual user surveys. You can learn more about it in our complete WPForms review.
With WPForms, you can create a contact form in just a few minutes, and your potential students or clients will have a direct way to reach you for any inquiries.

Step 8. Add and Adjust the Navigation Menu
Now, you’re very close to finalizing your eLearning website.
In this final step, you’ll set up an easy-to-follow navigation menu to help visitors find their way around your platform. Plus, if you created a custom homepage, then you might not have a navigation bar yet.
A clear and simple menu helps your visitors find what they’re looking for, be it your online courses, coaching programs, or contact page.

Luckily, WordPress makes it easy to create menus and sub-menus no matter what theme you’re using.
For step-by-step guidance, you can go ahead and check out our beginner’s guide on how to add a navigation menu in WordPress.
Bonus Tip: How to Grow Your New eLearning Website
Building your eLearning website is just the first step. Now, it’s time to attract students and grow your online presence. Here are some practical tips to help you get started:
- Start Blogging About Your Niche: Writing blog posts about topics relevant to your eLearning niche can improve your authority. Blogging helps you connect with your audience and boosts your website’s visibility in search engines. Not sure where to start? Check out our guide on how to start a blog.
- Optimize Your Site for SEO: To attract organic traffic, make sure your website is optimized for search engines. Tools like All in One SEO can make this super easy. Plus, our ultimate WordPress SEO guide has everything you need to know on how to get started with SEO, even if you’re a beginner.
- Share eBooks to Grow Your Email List: Offering free lead magnets like eBooks is a smart way to generate leads. You can then create popups or forms that encourage visitors to download your eBook in exchange for email addresses. You may also wish to see our guide on how to sell eBooks if you wish to make money from them.
- Start Email Marketing: On top of all that, you’ll want to stay connected with your audience through email marketing. Sending newsletters, course updates, and exclusive offers is a great way to keep your students engaged. Don’t miss our guide on email marketing 101 for step-by-step instructions.
When you follow these tips, you can grow your eLearning website and create a loyal audience that keeps coming back for more.
How to Create an eLearning Website FAQs
Below, we’ve answered some of the most common questions about how to create an eLearning website to help you get started.
Is creating an online course easy?
Creating an online course can be straightforward, but it depends on your content and goals. With the right tools and platform, you can build an engaging and educational course. One of the best options is MemberPress with its Courses and CoachKit™ add-ons.
Which are the best platforms for building an eLearning portal?
Some of the best platforms for building an eLearning portal include WordPress with an LMS plugin like MemberPress, AccessAlly, or LearnDash. These platforms provide various features to help you create and manage your courses.
Can I create a Learning management system using Wix?
Wix is mainly a website builder, so you might find a template kit for creating a basic eLearning site. However, if you need more advanced features for your online courses, platforms like WordPress integrated with MemberPress Courses and CoachKit™ might be a better choice.
How much does it cost to create an eLearning website?
The cost of creating an eLearning website can vary. For basic setups, you may only need to cover platform fees, which can start at $0-$50/month. For more advanced features, you can expect to spend on hosting, premium plugins, and course development, potentially totaling $200-$500+ per year.
We hope this guide has helped you learn how to create an eLearning website. Next up, you might want to see our guide on how to run a virtual classroom online with WordPress and our expert picks of the best WordPress LMS plugins compared.